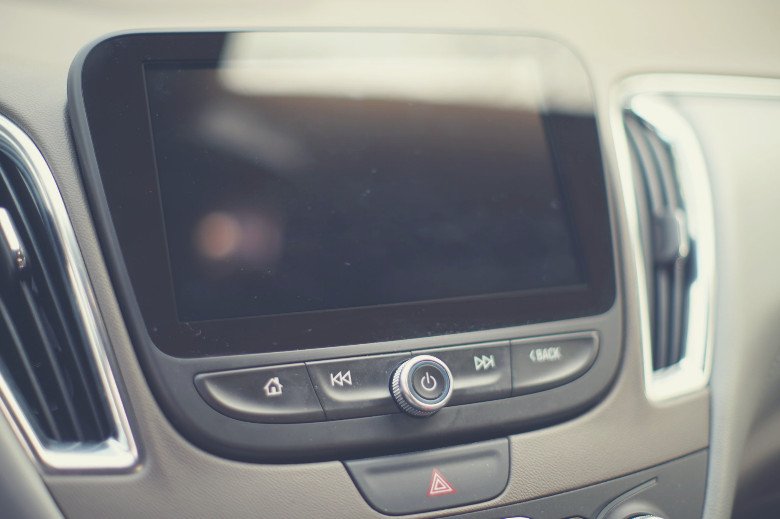
My first radio install was in a Chrysler Town & Country minivan believe it or not! I had three 12” subs in the back and a black light for some ambience! It was a pretty easy install switching out the stock radio. I only had to get the right mounting kit and wiring harness to make it all work together. Let’s get right to it!
Before you start
It’s best to have everything you need up front. I once spent an entire weekend installing my stereo when I could have completed it in one afternoon. I was missing some tools which caused some delays. You may also want to research how others have removed the radio on your same vehicle. They may have some tips or special tools required.
Overview of Steps
Here’ a quick overview of the steps to familiarize yourself with what you’re about to do:
- Remove trim
- Remove old stereo
- Insert Mounting kit
- Connect wiring harness
- Install Radio
- Check connections
- Reinstall trim
Research
First, Crutchfield has a great resource for mounting kits and harnesses to fit your vehicle. This is especially important to get the right wiring harness for your radio. Without it you’ll need to manually connect wires.
Next, search the internet for your car model and how to remove the stereo. Look for forums specific to your vehicle and read what others are doing. Others may have found an easier way or method. Save yourself some time and follow their advice.
Additionally, you’ll want to find out how your radio is secured to the dash. Manufacturers typically use three ways which I’ve outlined in the ‘How is the radio installed?’ section.
If it’s attached with spring clips you are going to need a DIN removal tool. Add that to your list of tools below.
Required Tools and Equipment
Gather the following:
- Screwdriver
- Socket set
- Adjustable wrench
- DIN tool (if required from research)
- Radio mounting kit (if required)
- Wiring harness
Time required
If you’ve never taken a radio out before, prepare to spend 4-6 hours. You’ll need a long morning or afternoon to complete everything. It can definitely take much less time if you’ve got all your tools and don’t run into any issues. My last install in a G35 took much longer than I anticipated because I didn’t do my research first.
Take pictures of everything
Document all your steps so you can get everything back together in the end. Take pictures of the screws, nuts, bolts, wiring harness, and the back of the radio. This is good documentation if you ever need to return it to stock.
Remove the Old Stereo
Disconnect negative battery cable
First, get your adjustable wrench. Pop the hood and disconnect the negative lead from the battery terminal. This will disconnect power from the car so you can work safely.
Identify trim and remove
Next you need to remove the trim surrounding the radio. Try to pry with your hands and see if you can find any clips holding it in. You may need to get a tool to pry it off. Be careful you don’t damage any areas of the trim.
How is the stereo installed?
Manufacturers install radios in three different ways:
- Secured in place with small bolts or screws
- If screwed in place, remove the fasteners
- Spring clips
- This is where you need the DIN tool
- Look for two sets of holes on the left and right side of the radio. Push in the DIN tool until you hear a click and then carefully pull the radio out.
- Rail system
- There’s a system of rails inside that hold the radio using clips or bolts
- Remove the clips or bolts and pull the radio out
- See if the rails will get in the way of the new radio. If so, you’ll need to remove them. Store it somewhere safe if you ever need to return to stock.
Unplug the wiring harness
Slowly pull the radio out until you can see the back of it. This is a good time to take a picture of the harness in the back for reference. Unplug the round, silver antenna. Unplug the wiring harness and take a look at the wires. This is where you’ll connect your new wiring harness. Your new harness acts as an adapter to connect to your new radio.
Install the new stereo
Next we’re going to install the new stereo in place. First we’ve got to get the wiring sorted out. Grab your wiring harness that you ordered. The harness is the easiest way to connect the new radio but it can be done manually if required.
Snap the harness into the existing factory connector. You’re done with this part. Skip the manual connection section below.
Manual connections
If you have to make manual connections you have a couple options. You can either solder or crimp the wires. Solder will be more secure over time but will take longer. Crimping is much quicker but more prone to shorts if not mated correctly.
Let’s identify the speaker wires next. Each speaker has a positive and negative, just like your home stereo. You’ll see a total of 8 speaker wires if you have 2 front speakers and 2 rear speakers. Find and label all.
Next are the power cables. Red is always switched power. This is the source for your radio so it turns off when you turn the car off. Yellow is constant power for your radio’s memory.
Finally find the ground wire. This is essential to get rid of any noise going through your speakers. Look for a bolt that connects to the metal on the body of the car. You may have to look under the carpet or under a seat.
Mounting the Stereo
Take out the mounting kit you ordered and take a quick look at the instructions. Most mounting kits will have a sleeve that slides over the stereo. Once you’ve got it in place bend the tabs on the side to secure the sleeve in place.
Check the connections
Now we’re going to make sure the stereo works right. Before proceeding make sure that you’ve got the wiring harness, power, and antenna attached correctly.
Connect the negative battery cable you disconnected at the beginning. Now turn on the radio and test each input to make sure they’re all working. Make sure the radio works, SD card, and aux input. Make sure you’ve got sound coming out of every speaker!
If you’re satisfied everything is working it’s time to put the radio back in place.
Put Everything back together
Shoving all those wires back into the space behind the radio can be difficult. Take your time. Slowly push the radio in and make sure not to pinch any cables. Take the provided screws and secure the radio to the dash. Make sure it’s tight and nothing is out of place.
Work to put the trim back following the pictures you took during this process. Be careful not to miss any pieces!
That’s it! Now enjoy your hard work and your new car stereo!
Summary
Once you’ve changed out a stereo once you’ve learned it for the future. This is a moderately difficult upgrade if you’ve never done it before. But now it’s complete and you can enjoy the new radio! Perhaps you wanted to add new stereo features to an older car. Maybe you wanted a new display. Now take a ride and have fun with some tunes!